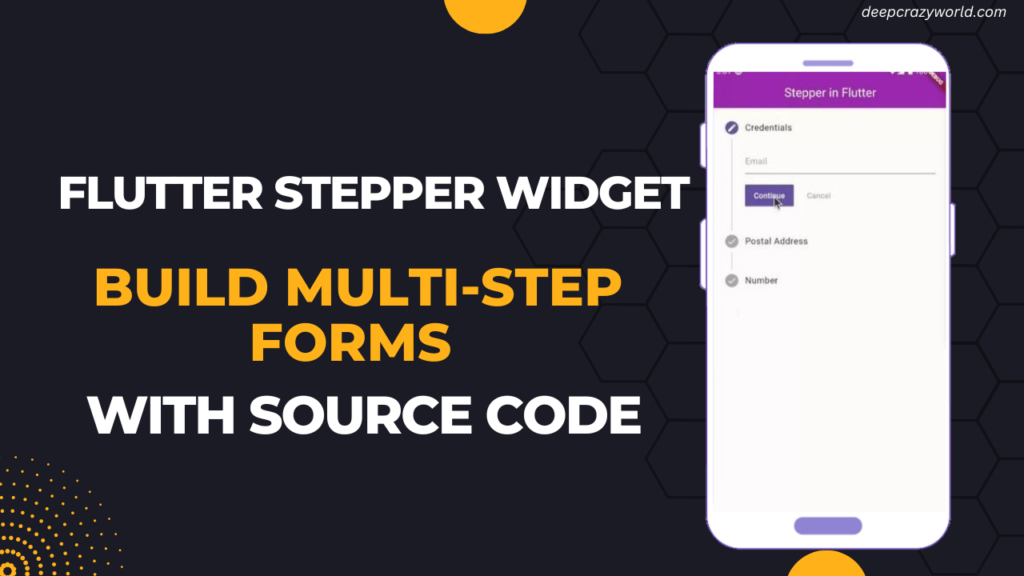
The Best Flutter UI Components – Professional Flutter Flutter Stepper Widget- As a Flutter developer, you’re likely familiar with the wide variety of widgets available to create seamless and interactive user interfaces. Among these widgets, the stepper plays a crucial role in breaking down complex forms or processes into smaller, more manageable steps.
In this blog post, we will dive into the stepper widget in Flutter, discussing its uses, customization options, and even the creation of a custom stepper. By the end of this guide, you’ll have a solid understanding of how to implement and customize the stepper widget in your own Flutter projects.
What is a Stepper in Flutter?
A stepper is a UI component that visually guides users through a sequence of steps in a linear or non-linear process. In Flutter, the stepper widget provides a simple and intuitive way to manage multi-step processes, such as forms, onboarding flows, or setup wizards. With its built-in navigation and validation features, the stepper widget makes it easy to create organized and user-friendly experiences.
Setting Up the Development Environment
Before diving into the stepper widget, ensure that you have Flutter and Dart installed on your machine. Follow the official Flutter installation guide for your operating system to set up your development environment.
Once Flutter and Dart are installed, create a new Flutter project by running the following command in your terminal or command prompt:
flutter create my_stepper_app
Replace “my_stepper_app” with your desired project name. After creating the project, navigate to the project folder and open it in your favorite code editor.
How to use the stepper widget in Flutter?
To begin implementing the stepper widget, open the ‘lib/main.dart‘ file in your project and replace the existing code with the following:
      body: Stepper(
        type: StepperType.horizontal,
        currentStep: _currentStep,
        onStepTapped: (step) => setState(() => _currentStep = step),
        onStepContinue:
            _currentStep < 2 ? () => setState(() => _currentStep += 1) : null,
        onStepCancel:
            _currentStep > 0 ? () => setState(() => _currentStep -= 1) : null,
        steps: [
          Step(
            title: const Text('Credentials'),
            content: TextFormField(
              keyboardType: TextInputType.emailAddress,
              decoration: InputDecoration(
                hintStyle: _hintStyle,
                hintText: 'Email',
              ),
            ),
            state: _currentStep == 0 ? StepState.editing : StepState.complete,
            isActive: _currentStep == 0,
          ),
          Step(
            title: const Text('Postal Address'),
            content: TextFormField(
              keyboardType: TextInputType.emailAddress,
              decoration:
                  InputDecoration(hintStyle: _hintStyle, hintText: 'Address'),
            ),
            state: _currentStep == 1 ? StepState.editing : StepState.complete,
            isActive: _currentStep == 1,
          ),
          Step(
            title: const Text('Number'),
            content: TextFormField(
              keyboardType: TextInputType.number,
              decoration:
                  InputDecoration(hintStyle: _hintStyle, hintText: 'Number'),
            ),
            state: _currentStep == 2 ? StepState.editing : StepState.complete,
            isActive: _currentStep == 2,
          ),
    ],
  ),
In this example, we created a simple stepper with three steps. The _currentStep variable keeps track of the active step. The onStepTapped, onStepContinue, and onStepCancel callbacks handle user interactions, allowing users to navigate through the steps.
You may also want to read: Flutter listview example
Customizing and Decorating the Stepper Widget
The stepper widget provides several properties to customize its appearance. You can modify the color, shape, and style of the step icons, labels, and content using the Step class properties such as activeColor, title, subtitle, state, and content. Additionally, you can decorate this widget by wrapping it in a Container widget and applying a BoxDecoration. Here’s an example of how to customize the stepper:
Stepper(
  currentStep: _currentStep,
  onStepTapped: (step) => setState(() => _currentStep = step),
  onStepContinue: _currentStep < 2
      ? () => setState(() => _currentStep += 1)
      : null,
  onStepCancel: _currentStep > 0
      ? () => setState(() => _currentStep -= 1)
      : null,
  controlsBuilder: (BuildContext context,
      {VoidCallback onStepContinue, VoidCallback onStepCancel}) {
    return Padding(
      padding: const EdgeInsets.symmetric(horizontal: 8.0),
      child: Row(
        children: <Widget>[
          ElevatedButton(
            onPressed: onStepContinue,
            child: const Text('Continue'),
          ),
          SizedBox(width: 8.0),
          TextButton(
            onPressed: onStepCancel,
            child: const Text('Cancel'),
          ),
        ],
      ),
    );
  },
  steps: [
    Step(
      title: Text('Step 1'),
      content: Text('This is the first step.'),
      state: _currentStep == 0 ? StepState.editing : StepState.complete,
      isActive: _currentStep == 0,
    ),
    Step(
      title: Text('Step 2'),
      content: Text('This is the second step.'),
      state: _currentStep == 1 ? StepState.editing : StepState.complete,
      isActive: _currentStep == 1,
    ),
    Step(
      title: Text('Step 3'),
      content: Text('This is the final step.'),
      state: _currentStep == 2 ? StepState.editing : StepState.complete,
      isActive: _currentStep == 2,
    ),
  ],
)
In this example, we’ve used the controlsBuilder property to create custom ‘Continue’ and ‘Cancel’ buttons. We’ve also set the state and isActive properties of each step to update their appearance based on the current step.
Vertical Stepper in Flutter
By default, the stepper widget displays steps horizontally. However, you can create a vertical stepper by setting the type property of the Stepper widget to StepperType.vertical.
Let’s see how it is done with the help of an example. Here is the code:
Stepper(
  type: StepperType.vertical,
  currentStep: _currentStep,
  onStepTapped: (step) => setState(() => _currentStep = step),
  onStepContinue: _currentStep < 2
      ? () => setState(() => _currentStep += 1)
      : null,
  onStepCancel: _currentStep > 0
      ? () => setState(() => _currentStep -= 1)
      : null,
  steps: _createSteps(),
)Output:

In this example, we’ve only added the type: StepperType.vertical property to the previous horizontal stepper example. The rest of the implementation remains the same.
Stepper Widget Methods and Functions
When working with the stepper widget, you may need to use various widget methods and functions for interactivity and customization. Some common mthods include:
- setState(): Updates the state of a StatefulWidget, triggering a rebuild of the widget tree.
- Navigator.pop(): Closes the current screen and returns to the previous screen in the navigation stack.
- Navigator.push(): Opens a new screen on top of the current screen in the navigation stack.
Manipulating Widget Positions in Flutter
To change a widget’s position in Flutter, you can use layout widgets such as Align, Positioned, and Container. By combining these widgets with the stepper, you can create a custom layout to position the stepper and its elements within the screen. For instance, you can wrap the Stepper widget in a Center or Align widget to position it in the center or other parts of the screen.
Here is an example:
Center(
  child: Stepper(
    // Stepper implementation
  ),
)
For fixed-position widgets, you can use the Positioned widget within a Stack widget. This allows you to place the widget at specific x and y coordinates within the stack. Let us see the change in position with the help of an example.
Stack(
  children: [
    // Other widgets
    Positioned(
      top: 50,
      left: 50,
      child: Stepper(
        // Stepper implementation
      ),
    ),
  ],
)
Creating a Custom Stepper in Flutter
In some cases, you may want to create a custom stepper that goes beyond the built-in styling and behavior options. To create a custom stepper widget, follow these steps:
- Create a new StatefulWidget that extends the base StatefulWidget class.
- Define a custom State class that holds the necessary state variables for your stepper.
- Implement the desired stepper appearance, behavior, and functionality using a combination of basic widgets and custom logic.
Here’s a simple example of a custom stepper:
class CustomStepper extends StatefulWidget {
  @override
  _CustomStepperState createState() => _CustomStepperState();
}

class _CustomStepperState extends State<CustomStepper> {
  int _currentStep = 0;

  List<Widget> _stepIndicators() {
    List<Widget> indicators = [];

    for (int i = 0; i < 3; i++) {
      indicators.add(
        Container(
          decoration: BoxDecoration(
            shape: BoxShape.circle,
            color: _currentStep == i ? Colors.blue : Colors.grey,
          ),
          width: 30,
          height: 30,
          child: Center(child: Text('${i + 1}')),
        ),
      );
    }

    return indicators;
  }

  @override
  Widget build(BuildContext context) {
    return Column(
      children: [
        Row(
          mainAxisAlignment: MainAxisAlignment.spaceAround,
          children: _stepIndicators(),
        ),
        // Custom step content and navigation buttons
      ],
    );
  }
}
This example demonstrates a custom stepper with a simple step indicator. You can further customize this example to create a completely unique stepper experience.
Conclusion
The Stepper widget is a useful tool for designing interesting and user-friendly interfaces due to its ability to break down complex operations into smaller, more manageable steps. Mastering the Stepper widget in Flutter is an essential skill for any developer looking to create intuitive and efficient user experiences. Still, if you feel any difficult while dealing with Flutter app development projects, you can reach out to us or hire Flutter developers to outsource any of your app development project.
Happy coding! 😉
Related Articles:
- How to Install Flutter in windows 10
- How to Setup Space Between Elements In Flutter
- Flutter Card Widget with Example
- Integrating an API into a Flutter – Working with REST APIs
- Create a simple splash screen in Flutter
- Android Projects with Source Code
- Flutter Interview Questions
- School Database Management System Project
- Create A Simple Splash Screen UI design
- Create Login Page UI Design and Animation For Flutter


0 Comments