The Ultimate Guide: Setting Up GitHub on Your MacBook and Uploading Your First Project, How to Setup GitHub and Upload Your First Project on a MacBook: A Step-by-Step Guide || GitHub Mac Setup
So, you’ve finished your project on your Mac, and now it’s time to share it with the world (or just back it up safely). Moving from local code to a GitHub repository is a rite of passage for every developer.
In this guide, I’ll walk you through the exact Terminal commands to get your code live, including the secret to bypassing the “Invalid Username or Password” error that trips everyone up.
Step 1: Create Your Repository on GitHub
Before touching your Mac’s Terminal, you need a place for your code to live online.
- Log in to GitHub.
- Click the + icon (top right) and select New repository.
- Name your project (e.g.,
imagetopdfconverter). - Set it to Public or Private.
- Important: Leave “Initialize this repository with…” options unchecked. We want a clean slate.
- Click Create repository and copy the URL provided (it ends in
.git).
Step 2: The Mac Terminal Magic
Open your Terminal (Cmd + Space, then type “Terminal”). We are going to “Gitify” your project folder.
1. Navigate to your project
Use the cd (change directory) command. You can type cd and then drag your folder from Finder into the terminal window.
Bash
cd /Users/yourname/Documents/YourProjectFolder2. Initialize Git
This creates a hidden .git folder that tracks your changes.
Bash
git init
3. Stage your files
This tells Git, “Hey, I want to include all these files in my next snapshot.”
Bash
git add .
4. Create your first Commit
This saves your snapshot locally with a descriptive message.
Bash
git commit -m "Initial commit: Flutter project ready"
5. Rename your branch to Main
GitHub uses main as the default branch name. Let’s make sure your Mac is on the same page.
Bash
git branch -M main
Step 3: Connecting Mac to GitHub
Now, we link your local folder to the remote repository you created in Step 1.
1. Add the Remote Origin
Paste the URL you copied earlier here:
Bash
git remote add origin https://github.com/yourusername/your-repo-name.git
2. The Final Push
Now, try to upload your code:
Bash
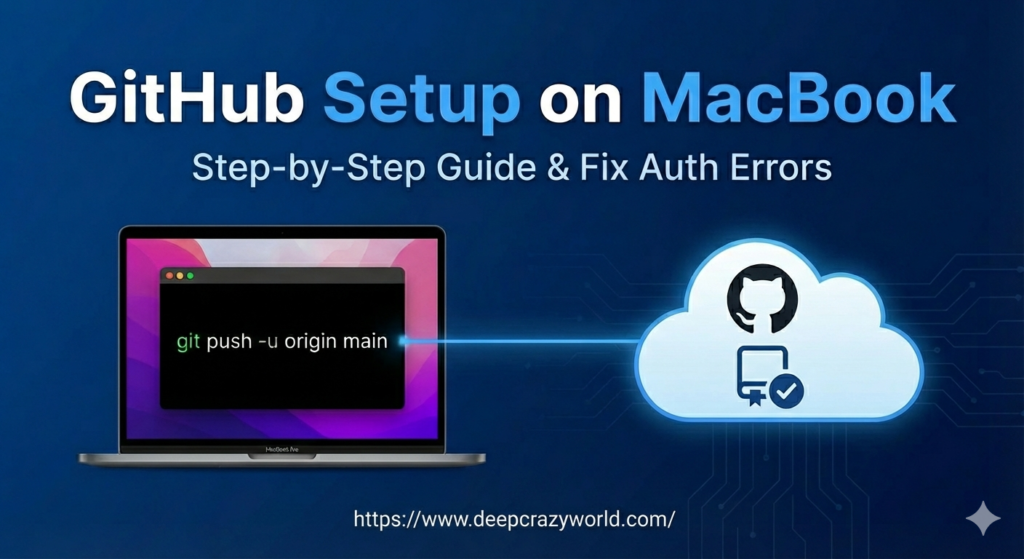
git push -u origin main
Step 4: The “Password” Gotcha (Personal Access Tokens)
If you get an Authentication Failed error, don’t panic! GitHub no longer accepts your account password in the Terminal. You need a Personal Access Token (PAT).
How to get one:
- On GitHub, go to Settings > Developer Settings > Personal Access Tokens > Tokens (classic).
- Generate a new token and check the ‘repo’ box.
- Copy that token immediately.
- When the Terminal asks for your “Password,” paste the token instead of your GitHub password.
Conclusion
And that’s it! Your code is now safely stored on GitHub. By using the Terminal on your Mac, you have more control over your version history and are one step closer to a professional dev workflow.
Happy Coding!
SEO Tips for your Post:
- Images: Add screenshots of the GitHub “New Repository” page and the “Developer Settings” for the token.
- Alt Text: Label your images as “GitHub Mac Terminal setup” or “GitHub Personal Access Token scopes.”
- Internal Links: If you write a post about Flutter later, link back to this guide!
Related Articles
- How to make Ludo app in Flutter with Source Code Step by step
- How to make PDF Reader app in Flutter with Source Code Step by step
- What is package in Flutter (Dart) with example in 2024
- What is class in Flutter(Dart) with example step by step
- Advantage of Flutter with examples in 2024
- Top 15 Amazing Applications Built with Flutter Framework
- Specialized PDF reader designed specifically for music sheets
- Christmas Quote Generator app built with flutter source code
- How to make review and rating ui with flutter stepwise
- How to Upload Your App to Google Play Store in 2026
- Mastering SOLID Principles in Flutter: Building Scalable Apps
0 Comments