Users may browse to various pages of your app using the Flutter navigation drawer. The Drawer widget is used to add the navigation drawer. It may be accessed by either using the swipe gesture or the menu icon in the app bar.
Introduction
You may customise the navigation drawer to open from the right side of the screen instead of the usual left side (for the LTR text settings). Swiping or clicking outside the drawer will close it. When it opens, the drawer takes up about 60–70% of the screen.
Here’s what we’ll cover:
- When to use a navigation drawer
- How to add a basic navigation drawer in Flutter
- Displaying user details in navigation drawer header
- Displaying AboutListTile
- Opening a navigation drawer programmatically
- Opening a navigation drawer from the right side
- Controlling navigation drawer width

How to add a basic navigation drawer in Flutter
To add a basic navigation drawer in Flutter, you must first use MaterialApp in your project. Then, the Drawer widget can be added to the Scaffold widget.
Configure flutter in your system first
Note: Before creating flutter project you need to configure Flutter in your system successfully . here i have given another articale to help in configuration of flutter in your system
Here are the step-by-step instructions:
- To assign the Drawer widget, add the Drawer property, then use the MaterialApp within the scaffold.
- Add the ListView widget as a child widget within the Drawer widget, and then insert the DrawerHeader widget inside the ListView. A material design drawer header will result from this.
- Insert a Text widget with some text within the DrawerHeader.
- Add a ListTile widget with a title and icon that represents a single page beneath the DrawerHeader.
- similar add more ListTile for further pages
Code example:
Splash Screen
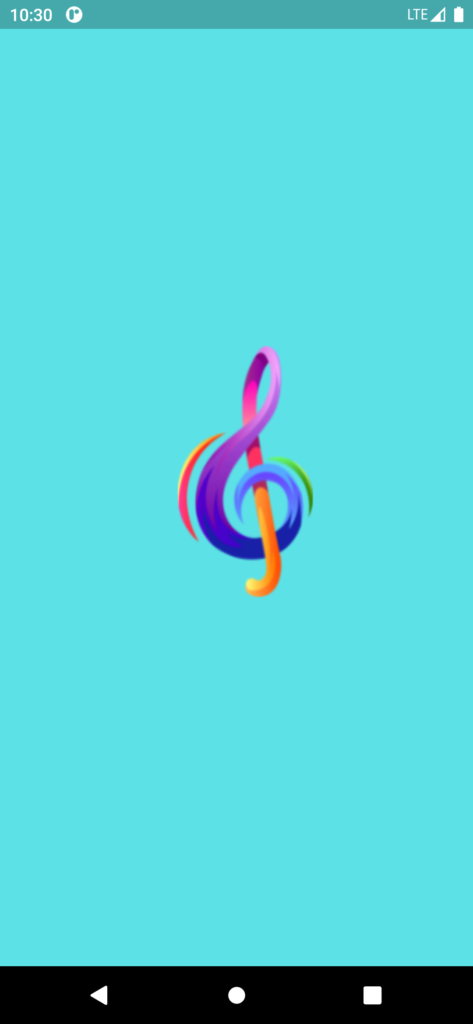
Splash screen in flutter logo splash screen code
 Container(
        color: Colors.black,
        height: MediaQuery.of(context).size.height,
        width: MediaQuery.of(context).size.width,
        child: Image.asset(
          "assets/images/splash.png",
          fit: BoxFit.fill,
        ),
      ),
Splash Screen full source code
import 'dart:async';
import 'package:flutter/material.dart';
import '../page_routes/routes.dart';

class SplashScreen extends StatefulWidget {
  @override
  State<StatefulWidget> createState() => InitState();
}

class InitState extends State<SplashScreen> {
  @override
  void initState() {
    // TODO: implement initState
    super.initState();
    startTimer();
  }

  startTimer() async {
    var duration = const Duration(seconds: 5);  // timer for splash screen
    return Timer(duration, homePageRoute);
  }

  homePageRoute() {
    // navigate here
    Navigator.pushNamed(context, Routes.homeScreen);
  }

  @override
  Widget build(BuildContext context) {
    return initWidget();
  }
  Widget initWidget() {
    return Scaffold(
      body: Container(
        color: Colors.black,
        height: MediaQuery.of(context).size.height,
        width: MediaQuery.of(context).size.width,
        child: Image.asset(
          "assets/images/splash.png",
          fit: BoxFit.fill,
        ),
      ),
    );
  }
}
Home Page
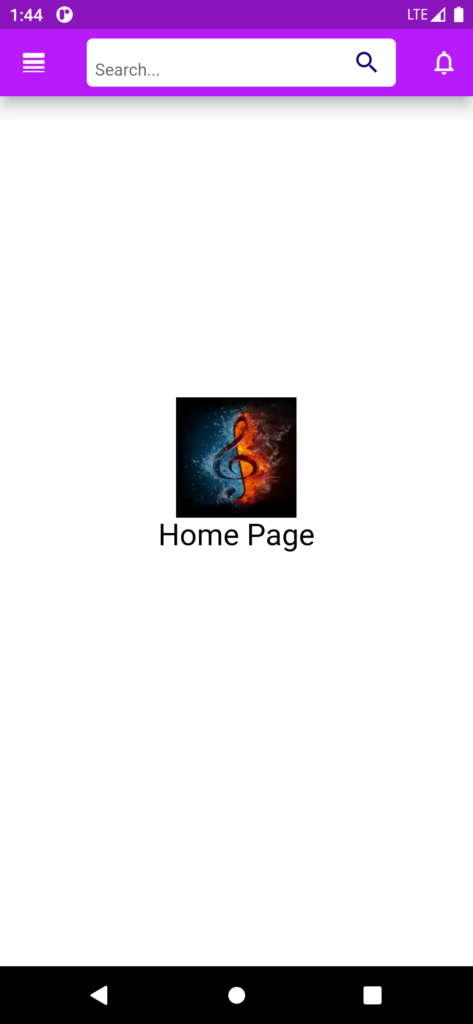
Homepage page with splash screen
Open drawer use tooltip in home page code
 // open drawer use tooltip
              tooltip: MaterialLocalizations
                  .of(context)
                  .openAppDrawerTooltip,
Navigatate Drawer to menu bar screen
drawer: MenuBarScreens(),Home page Complete source code
import 'package:drawer/screens/menubar.dart';
import 'package:drawer/utils/colors.dart';
import 'package:flutter/cupertino.dart';
import 'package:flutter/material.dart';

class HomeScreen extends StatefulWidget {
  const HomeScreen({Key? key}) : super(key: key);
  @override
  State<HomeScreen> createState() => _HomeScreenState();
}

class _HomeScreenState extends State<HomeScreen> {
  @override
  Widget build(BuildContext context) {
    // final _scaffoldKey = GlobalKey<ScaffoldState>();

    return Scaffold(
       backgroundColor: colorWhite,
      resizeToAvoidBottomInset: false,
      appBar: AppBar(
        title: Container(
          // width: double.infinity,
          height: 40,
          decoration: BoxDecoration(
              color: Colors.white, borderRadius: BorderRadius.circular(5)),
          child: Center(
            child: TextField(
              onChanged: ((value) {}),
              decoration: InputDecoration(
                  suffixIcon: IconButton(
                    icon: Icon(Icons.search),
                     color: colorSecondry,
                    onPressed: () {},
                  ),
                  hintText: '  Search...',
                  hintStyle: TextStyle(
                    fontSize: 14,
                    fontFamily: 'Amazon',
                    // color: colorSecondry),
                  ),
                  border: InputBorder.none),
            ),
          ),
        ),

        //  title: Text('Search'),
        leading: Builder(
          builder: (BuildContext context) {
            return IconButton(
              icon: const Icon(Icons.line_weight_rounded),
              //icon: Image.asset('assets/images/navbar.png'), // for image
              onPressed: () {
                Scaffold.of(context).openDrawer();
              },
              // open drawer use tooltip
              tooltip: MaterialLocalizations
                  .of(context)
                  .openAppDrawerTooltip,
            );
          },
        ),
        automaticallyImplyLeading: false,
        actions: [
          Row(
            mainAxisAlignment: MainAxisAlignment.end,
            children: [
              IconButton(
                onPressed: () {
                  //  Navigator.pushNamed(context, Routes.notifyScreen);
                },
                icon: const Icon(Icons.notifications_outlined),
              ),
            ],
          ),
        ],
        centerTitle: true,
        elevation: 10,
        backgroundColor: colorPrimary,
      ),
      // navigation drawer screen here
      drawer: MenuBarScreens(),
      body: Center(
        child: Column(
          children: [
            SizedBox(
              height: 250,
            ),
            Container(
              height: 100,
              width: 100,
              child: Image.asset(
                "assets/images/music.jpg",
              ),
            ),
            Text("Home Page", style: TextStyle(color: Colors.black, fontSize: 25),
            ),
          ],
        ),
      ),
    );
  }
}
Basic Navigation Drawer
Here’s how the code is translated into design: user information displayed in the navigation drawer header. In the straightforward example above, the drawer header is simply text, but in a real-world setting, you would wish to show the current user information there.
All user-related data, including the profile image, username, and email, is shown in the UserAccountsDrawerHeader. When users tap on the user information, you may also open the user details page. User information will be shown in the navigation drawer when:
Simply swap out the DrawerHeader widget with the UserAccountsDrawerHeader in the aforementioned sample code.
Set the username and include the accountName parameter
Set the user email and include the accountEmail parameter.
Set the logged-in user’s profile image by adding the currentAccountPicture option.
Basic Navigation Drawer Code
Output
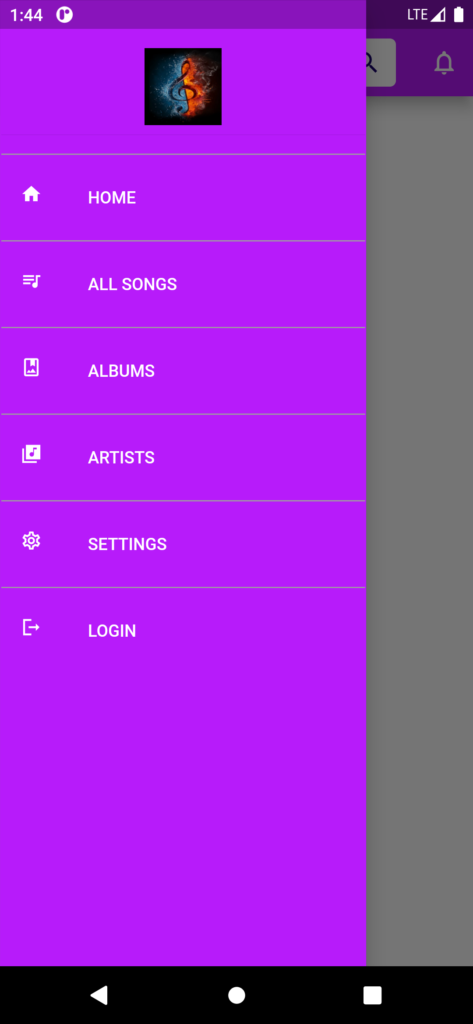
Navigation Drawer Code
 Drawer(
      backgroundColor: colorPrimary,
      child: Padding(
        padding: const EdgeInsets.only(bottom: 12.0),
        child: ListView(
          padding: EdgeInsets.only(left: 1.0, right: 1.0),
          children: [
            Container(
              height: 120,
              child: DrawerHeader(
                child: Image.asset(
                  "assets/images/music.jpg",
                ),
              ),
            ),
            const Divider(
              color: Colors.grey,
              thickness: 1,
            ),
            ListTile(
              leading: const Icon(
                Icons.home,
                size: 18,
                color: Colors.white,
              ),
              title: const Text('HOME',
                  style: TextStyle(
                    color: Colors.white,
                    fontFamily: 'Amazon',
                  )),
              onTap: () {
                Navigator.pushNamed(context, Routes.homeScreen);
              },
            ),
            const Divider(
              color: Colors.grey,
              thickness: 1,
            ),
            ListTile(
              leading: const Icon(
                Icons.queue_music_outlined,
                size: 18,
                color: Colors.white,
              ),
              title: const Text('ALL SONGS',
                  style: TextStyle(
                    color: Colors.white,
                    fontFamily: 'Amazon',
                  )),
              onTap: () {
                //Navigator.pushNamed(context, Routes.homeScreen);
              },
            ),
            const Divider(
              color: Colors.grey,
              thickness: 1,
            ),
            ListTile(
              leading: const Icon(
                Icons.photo_album_outlined,
                size: 18,
                color: Colors.white,
              ),
              title: const Text('ALBUMS',
                  style: TextStyle(
                    color: Colors.white,
                    fontFamily: 'Amazon',
                  )),
              onTap: () {
                // Navigator.pushReplacementNamed(context, Routes.adsBoutiques);
              },
            ),
            const Divider(
              color: Colors.grey,
              thickness: 1,
            ),
            ListTile(
              leading: const Icon(
                Icons.library_music_sharp,
                size: 18,
                color: Colors.white,
              ),
              title: const Text('ARTISTS',
                  style: TextStyle(
                    color: Colors.white,
                    fontFamily: 'Amazon',
                  )),
              onTap: () {
                // Navigator.pushReplacementNamed(context, Routes.adsBoutiques);
              },
            ),
            const Divider(
              color: Colors.grey,
              thickness: 1,
            ),

            ListTile(
              leading: const Icon(
                Icons.settings_outlined,
                size: 18,
                color: Colors.white,
              ),
              title: const Text('SETTINGS',
                  style: TextStyle(
                    color: Colors.white,
                    fontFamily: 'Amazon',
                  )),
              onTap: () {
                // Navigator.pushReplacementNamed(context, Routes.adsBoutiques);
              },
            ),
            const Divider(
              color: Colors.grey,
              thickness: 1,
            ),
            ListTile(
              leading: const Icon(
                Icons.logout_sharp,
                size: 18,
                color: Colors.white,
              ),
              title: const Text('LOGIN',
                  style: TextStyle(
                    color: Colors.white,
                    fontFamily: 'Amazon',
                  )),
              onTap: () {
               // Navigator.pushReplacementNamed(context, Routes.loginallTab);
              },
            ),
          ],
        ),
      ),
    );
Navigation Drawer Complete Code
import 'package:drawer/utils/colors.dart';
import 'package:flutter/material.dart';
import 'package:flutter/src/foundation/key.dart';
import 'package:flutter/src/widgets/framework.dart';
import '../../page_routes/routes.dart';


class MenuBarScreens extends StatelessWidget {
  const MenuBarScreens({Key? key}) : super(key: key);

  @override
  Widget build(BuildContext context) {
    return Drawer(
      backgroundColor: colorPrimary,
      child: Padding(
        padding: const EdgeInsets.only(bottom: 12.0),
        child: ListView(
          padding: EdgeInsets.only(left: 1.0, right: 1.0),
          children: [
            Container(
              height: 120,
              child: DrawerHeader(
                child: Image.asset(
                  "assets/images/music.jpg",
                ),
              ),
            ),
            const Divider(
              color: Colors.grey,
              thickness: 1,
            ),
            ListTile(
              leading: const Icon(
                Icons.home,
                size: 18,
                color: Colors.white,
              ),
              title: const Text('HOME',
                  style: TextStyle(
                    color: Colors.white,
                    fontFamily: 'Amazon',
                  )),
              onTap: () {
                Navigator.pushNamed(context, Routes.homeScreen);
              },
            ),
            const Divider(
              color: Colors.grey,
              thickness: 1,
            ),
            ListTile(
              leading: const Icon(
                Icons.queue_music_outlined,
                size: 18,
                color: Colors.white,
              ),
              title: const Text('ALL SONGS',
                  style: TextStyle(
                    color: Colors.white,
                    fontFamily: 'Amazon',
                  )),
              onTap: () {
                //Navigator.pushNamed(context, Routes.homeScreen);
              },
            ),
            const Divider(
              color: Colors.grey,
              thickness: 1,
            ),
            ListTile(
              leading: const Icon(
                Icons.photo_album_outlined,
                size: 18,
                color: Colors.white,
              ),
              title: const Text('ALBUMS',
                  style: TextStyle(
                    color: Colors.white,
                    fontFamily: 'Amazon',
                  )),
              onTap: () {
                // Navigator.pushReplacementNamed(context, Routes.adsBoutiques);
              },
            ),
            const Divider(
              color: Colors.grey,
              thickness: 1,
            ),
            ListTile(
              leading: const Icon(
                Icons.library_music_sharp,
                size: 18,
                color: Colors.white,
              ),
              title: const Text('ARTISTS',
                  style: TextStyle(
                    color: Colors.white,
                    fontFamily: 'Amazon',
                  )),
              onTap: () {
                // Navigator.pushReplacementNamed(context, Routes.adsBoutiques);
              },
            ),
            const Divider(
              color: Colors.grey,
              thickness: 1,
            ),

            ListTile(
              leading: const Icon(
                Icons.settings_outlined,
                size: 18,
                color: Colors.white,
              ),
              title: const Text('SETTINGS',
                  style: TextStyle(
                    color: Colors.white,
                    fontFamily: 'Amazon',
                  )),
              onTap: () {
                // Navigator.pushReplacementNamed(context, Routes.adsBoutiques);
              },
            ),
            const Divider(
              color: Colors.grey,
              thickness: 1,
            ),
            ListTile(
              leading: const Icon(
                Icons.logout_sharp,
                size: 18,
                color: Colors.white,
              ),
              title: const Text('LOGIN',
                  style: TextStyle(
                    color: Colors.white,
                    fontFamily: 'Amazon',
                  )),
              onTap: () {
               // Navigator.pushReplacementNamed(context, Routes.loginallTab);
              },
            ),
          ],
        ),
      ),
    );
  }
}
Note: Use this drawer code in home page navigation
Displaying AboutListTile
Opening navigation drawer programmatically
Sometimes, you may also want to open or close the drawer programmatically. For example, if you are developing an onboarding feature or letting the user know how to navigate your app, you may want to open the navigation drawer when the user clicks on UI elements that are part of the onboarding feature, such as the next button, open button, etc.
     ListTile(
              leading: const Icon(
                Icons.settings_outlined,
                size: 18,
                color: Colors.white,
              ),
To open the navigation drawer programmatically:
First, create the global variable in your class
Inside the Scaffold widget, add the key parameter and assign the global key
Add the ElevatedButton to your page
Inside the ElevatedButton, add the onPressed() method and call the openDrawer() method using the Global key
Opening Drawer Programmatically
Opening a navigation drawer from the right side and left side both
In very rare cases, you may want to open the drawer from the right side. To do so, simply replace the drawer parameter (inside the Scaffold) with the endDrawer and you are done.
Home page : Controlling navigation drawer width When the navigation drawer opens, by default, it will cover more than 50 percent of the screen. You can change this and allow the navigation drawer to occupy a space that you define.
Conclusion
In this tutorial, we learned how to add the navigation drawer in Flutter with practical examples. We first saw how to add a basic navigation drawer and then gradually moved toward customizing the drawer. Finally, we learned how to open the navigation drawer programmatically and control its width.
You can check out the entire code of this here:
Get Full Source Code
Contact me
for backend or any other configuration feel free to contact me.
Do like & share my Facebook page. if you find this post helpful. Thank you!!
Related Articles:
- How to Install Flutter in windows 10
- How to Setup Space Between Elements In Flutter
- Flutter Card Widget with Example
- Integrating an API into a Flutter – Working with REST APIs
- Create a simple splash screen in Flutter
- Android Projects with Source Code
- Flutter Interview Questions
- School Database Management System Project
- Create A Simple Splash Screen UI design
- Create Login Page UI Design and Animation For Flutter
- Setting Page Flutter UI Design with source code


0 Comments